Brakes
-
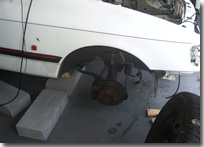
Having stripped the front and rear brakes out from the donor chassis I will re-furbish these with new seals, pads and shoes so at least they are in a refurbished condition. Once the Fury is on the road I may upgrade these parts.
Rear Brakes
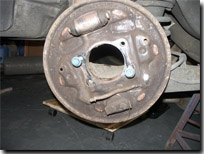
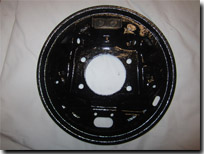
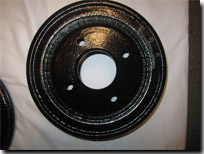
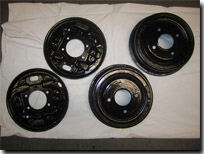
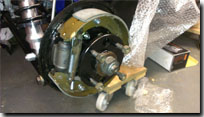
Once the drums, shoes and backplates were removed from the donor, I cleaned them up by giving them a good going over with a wire brush and then dropping them into a corrosion killer solution for 24 hours. Once they had dried out I gave them a fresh coat of paint ready for the refit. The rear wheel cylinder was also removed and although they are in fairly good condition they only cost a few pounds new so I will be replacing those along with the new brake shoes and brake shoe fitting kit which has new springs and shoe retainers. An excellent resource for finding parts and part numbers is to use firstline. Register for a free account and you can find the numbers for most makes of vehicle. For the brake fixing kit I ordered these from DoctorCarParts on E-bay.
With all the parts now cleaned up and painted I fitted the brake hoses, new cylinders, shoes and fixing kit along with the drive shafts and hubs.
Front Brakes
-
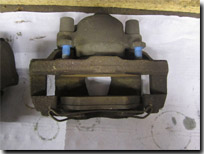
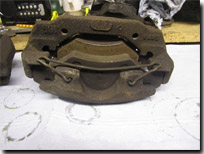
As I did for the rear brake parts once removed and dismantled, I cleaned the parts up by getting all the old brake dust and loose rust off with a wire brush (wear a mask and goggles for this!) and again dropped them into a corrosion killer solution for 24 hours. Once they had dried out I gave them a fresh coat of paint ready for overhaul. To refurbish the calipers I purchased an overhaul kit from Bigred on E-bay. This kit includes the piston seal, dust seal and new slider parts.
Once the calipers had the new seal kits in a bought some EBC 'Green Stuff' Brake pads which have had good reviews but I guess its all trial and error and I will see if I am happy with these pads once on the road. I also bought new front discs and fitted these onto the front hubs too.
Brake Lines & Master Cylinder
-
Once I received the brake master cylinder from Steve I set about mounting it to the drivers footwell bulkhead, and that's when I noticed that the mounting holes had the wrong orientation. The holes in the bulkhead run horizontal whereas the ones for the master cylinder run vertically. After speaking to the guys at Fury Sportscars that is how they are now supplied but were the other way round before. The only thing to do was drill two new holes to mount the cylinder and then fill in the two that are already there.
With the Master cylinder mounted, I tried to connect it up to the pedal box supplied, but the arc cutout to accept the clevis fork of the pushrod in the cylinder was too shallow and the pedal would touch the clevis fork not giving full movement. To stop this contact I increased the cutout arc of the pedal so there is now a clearance between the pedal and clevis fork.
Once mounted the next thing was to run the brake lines front and rear, mounting t-pieces on the chassis to separate off for each corner. This was fairly easy and I have used push in clips attached to the chassis to mount the brake lines. To run the brake line to the rear of the chassis, I made some panels to run along the top of the inside of the tunnel, had those powdercoated when I did the other panels and then used these to mount the brake line and the fuel lines below those. This made the whole job look neater and also satisfies the IVA requirement of clipping the brake lines ever 200mm maximum. Without doing this I would have had to drill into the chassis rails, and that's alot of holes to drill in the main chassis structure by my reckoning.
Handbrake Cable
With handbrake mounted I then ran the cable along the tunnel and into the holders mounted to the chassis and then onto the rear brake shoes. However once the cable had been routed it would rub on the chassis rail which for one I didn't like and I'm sure neither would the IVA man.
My first idea was to mount small pulley wheels on the chassis rail and allow the cables to run in these but in reality, once the cable pulled tight it would just jump out of the pulley wheels. My next idea used the same mounting point on the chassis but instead of the pulley wheels I just used a small hollow bar and allowed the cable to run over that. Now as the cable pulls tight it can just run up and down the bar as required.


-sml.jpg)
 copy.jpg)
-sml.jpg)
-sml.jpg)
-sml.jpg)
.jpg)
.jpg)
.jpg)
.jpg)
.jpg)
.jpg)
.jpg)
.jpg)
.jpg)
.jpg)
.jpg)
.jpg)
.jpg)
